大豆過敏也可以吃豆腐了⁉️鷹嘴豆豆腐〡增肌減脂輕食新寵 Chickpea Tofu〡Allergic to soybeans⁉️ A new favorite for muscle building, fat loss, and light eating

免費訂閱肥丁 Youtube 頻道
多謝支持﹗
做完鷹嘴豆味噌後,我把剩下的鷹嘴豆做成了鷹嘴豆豆腐。被熊貓先生評為“喵星食物”,結果被貓咪嫌棄了。所以,肥丁決定來點改良。
鷹嘴豆可是個寶貝,裡面含有豐富的植物蛋白,營養又高,纖維多還低脂,對想增肌減脂的小夥伴們超合適,特別是那些對大豆過敏或者喜歡純植物飲食的人。只要幾個簡單步驟,就能把鷹嘴豆變成豆腐,口感
綿密細膩,不管是做甜的還是鹹的都能搭配得當。
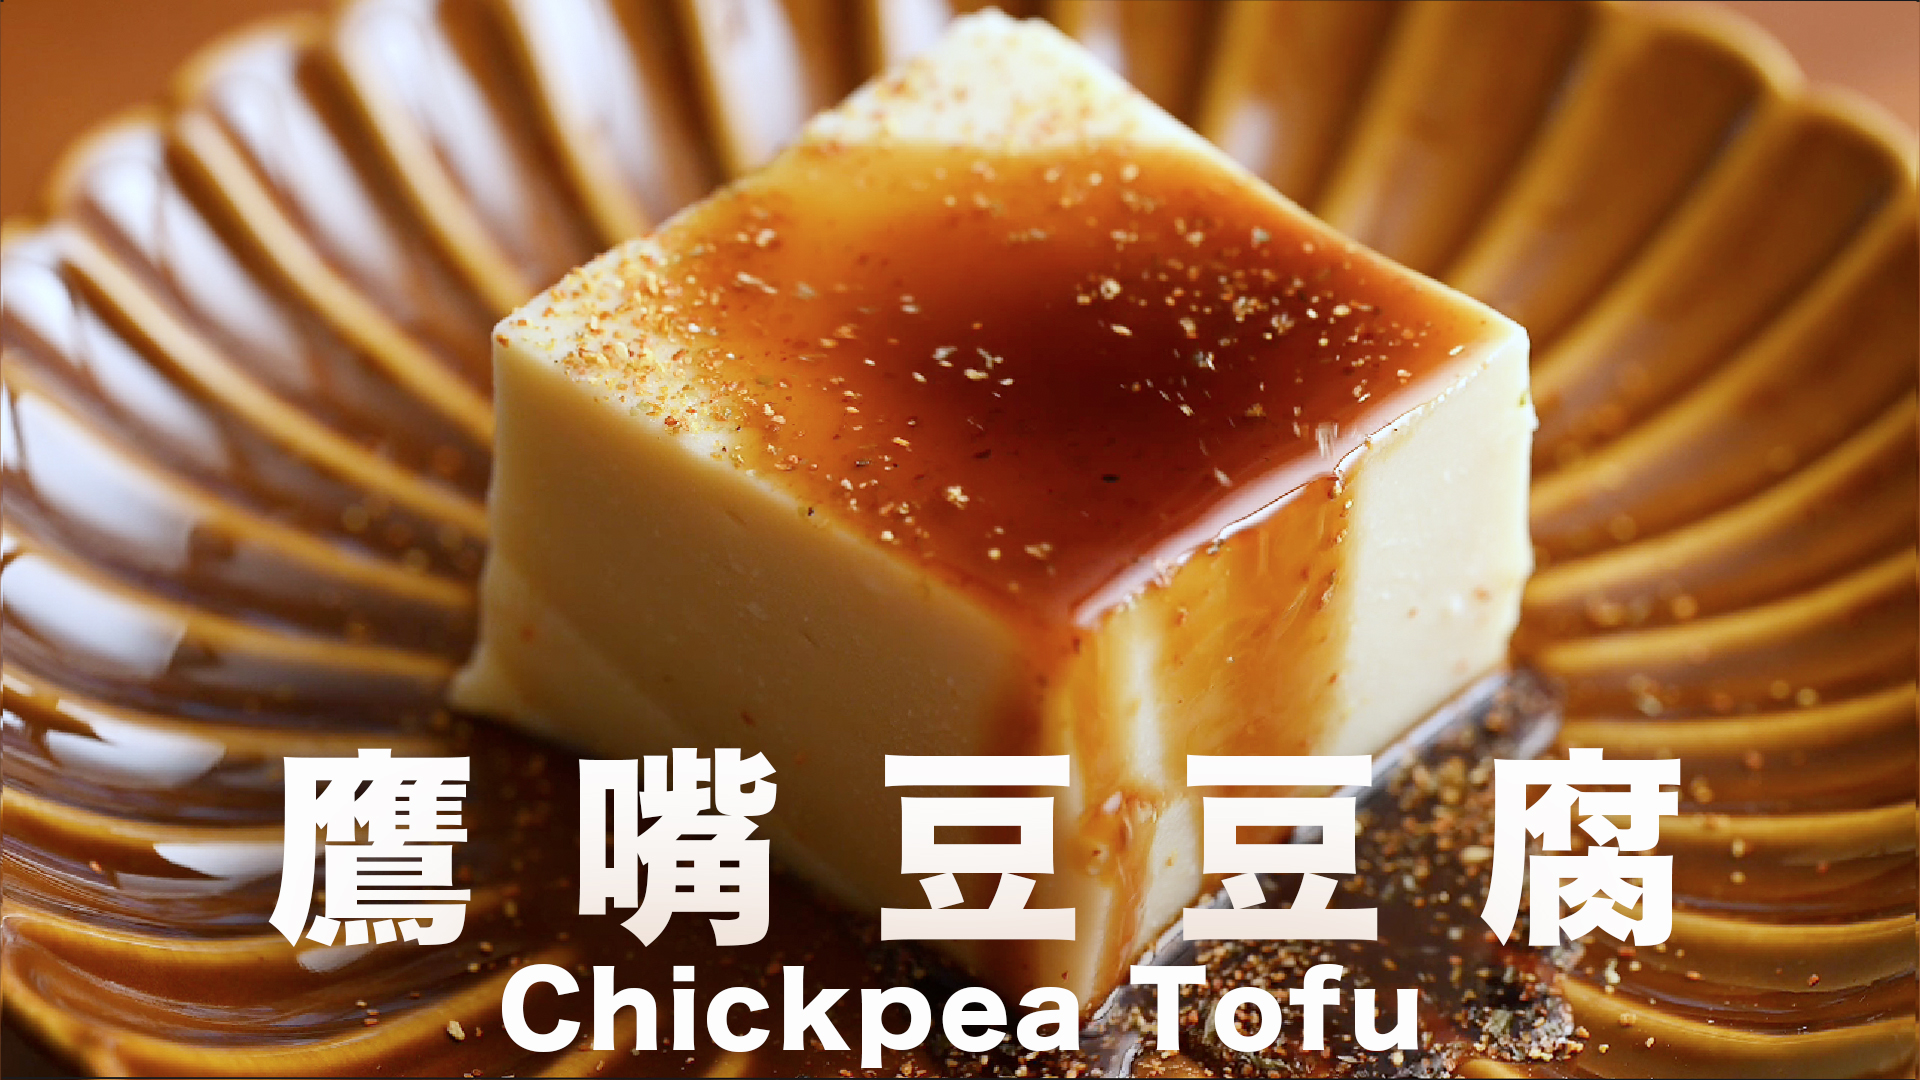
由於加入了鮮味高湯,遮掩了鷹嘴豆原有的豆腥味,熊貓先生終於不再是喵星食物。此款鷹嘴豆豆腐經過加熱煮熟後冷卻,對於煎或烘烤而言並不太合適,因為直接加熱會使其再次變回糊狀,口感亦會變得如豆泥一般。若在夏季,則可製作為冷盤,鹹味可搭配喜愛的醬料。我嘗試製作了一款日式涼拌豆腐,使用自製的七味粉調味,自製吉野家醬汁,撒上些許櫻花蝦乾,再加入鰹魚乾與昆布,出乎意料地美味,連貓都被吸引過來。不過,需注意貓咪不可食用。
湯品亦是一個輕食選擇,置入熱湯中,微溫的口感將非常嫩滑,與自製的鷹嘴豆味噌相得益彰。我認為這款豆腐與豆糕十分相似,不添加鮮味湯泡的豆子,亦可搭配黑糖蜜作為甜品享用。
◤鹰嘴豆豆腐♦︎材料
- 鹰嘴豆(乾豆) 300 g
- 開涼水 1200 g(泡豆用)
- 自製鮮味粉/香菇粉昆布粉 3 大匙(不怕豆腥味可省略)
- 餐桌鹽 1/4 小匙
🟢 如果做甜品省略鹽和鮮味粉
🟢 方形玻璃容器容量 900 ml
自製鮮味粉食譜點這裡 https://beanpanda.com/21688
◤做法
❶ 首先,先把鷹嘴豆洗乾淨,然後在泡水裡加點自製的鮮味粉,攪拌均勻,接著把混合物倒進棉布袋過濾。還要把棉布袋一起放進浸泡的湯汁裡,然後放進冰箱,冷藏過夜。浸泡一晚後,鷹嘴豆就會吸足水分,重量翻倍。
❷ 第二天取出棉布袋,這樣既能保持湯汁的香味,又不影響豆腐的口感。把湯汁和豆子放進食物調理機打粗糙一些,然後 把鷹嘴豆漿倒進豆漿布裡,雙手用力將鷹嘴豆壓榨,讓豆汁滲出來,這便是鷹嘴豆漿,鷹嘴豆渣的顆粒粗細不均,這正是理想的狀態。如果將其打得過細,澱粉會釋放過多,導致豆腐的口感變差。
❸ 鷹嘴豆中的澱粉會快速沉澱,因此在烹煮之前,必須再次攪拌。將擠出的豆汁倒入平底鍋中,最佳選擇是選用直徑較大的寬口鍋,以便更有效地蒸發水分。
❹ 我所使用的電磁爐設定在最大火力為99檔,起初我將火調至中火60檔以加熱,同時不斷攪拌。很快,湯汁將開始變得濃稠,出現小顆粒,此時應該轉小火並持續攪拌。無需擔心,立即轉至小火,並持續攪拌每個角落。我會將火力調至20檔以便快速攪拌,避免鍋底燒焦。
❺ 使用平鍋鏟可大範圍劃動,鷹嘴豆漿很快便能均勻煮熟,您會發現小顆粒已經消失。這種豆腐不需要任何凝固劑,完全依賴豆子內部的澱粉及豆汁共同烹煮至濃稠,冷卻後即可凝固,這與製作涼糕的原理相似。
❻ 至於停火時間,我們可通過觀察豆漿從勺子滴下的狀態來判斷,輕輕刮鍋底,當豆漿流動變得緩慢,但仍能迅速合攏,滴落速度卻較快,這時冷卻不會凝固,需持續努力再攪拌。判斷豆漿能成功凝結的指標有三點:當豆漿炒至可以輕易撥開見鍋底,豆漿能夠黏附於鍋鏟且不輕易落下,最後是出現不容易消失的絲帶狀滴落,此時即可關火。
❼ 將豆漿倒入耐熱容器中,無需塗油。鷹嘴豆漿的量越少,凝固速度則越快;若僅有100克的豆子,可能僅需十幾分鐘,而我這300克的份量約用了25分鐘。抹平表面,放入冷水中約一小時即可凝固,並在冷卻後放入冰箱,使豆腐內部也完全冷卻。冷卻後的豆腐會自動脫離容器,觸感扎實且略具彈性,輕輕按壓邊緣便可分開,這樣便達成了成功。
❽ 若鮮味粉未經過濾,味粉將使得鷹嘴豆澱粉在凝固時顯得粗糙,口感亦會變得怪異。如果豆漿在下鍋前未攪拌均勻,澱粉未完全融入,將導致豆漿缺少澱粉,結果必然無法成功凝固。如果鷹嘴豆打得過細,澱粉釋放過多,煮好的豆腐將變得硬邦邦,且出水量多,彈性不佳,極易裂開。成功的鷹嘴豆豆腐,澱粉與水的比例恰到好處,冷卻後略具彈性,不易斷裂,存放幾天也不會流出過多水分。您可以在視頻裡觀察到這個切面
❾ 未用完的豆腐可在冰箱中冷藏3至4天,只要表面未出現黏液,無酸味皆可食用。當然,食用前加熱蒸熟以進行殺菌會更加衛生。鷹嘴豆腐若存放時間過長會出水屬正常現象
❿ 而剩下的鷹嘴豆渣可在大火上蒸15分鐘,可製作鷹嘴豆味噌,亦可烘乾脫水,或研磨成鷹嘴豆粉,加入麵團中製作麵包或饅頭。
⓫ 神奇的鷹嘴豆亦可製作素奶油及蛋糕。若想瞭解更多鷹嘴豆食譜,敬請關注並訂閱我,點讚收藏,謝謝收看,我們下次再見。
After making chickpea miso, I turned the remaining chickpeas into chickpea tofu. Mr. Panda rated it as “cat food,” So, I decided to make some improvements.
Chickpeas are a treasure, packed with rich plant protein, high nutrition, plenty of fiber, and low in fat, making them perfect for those looking to gain muscle while losing fat—especially suitable for those allergic to soy or those who prefer a purely plant-based diet. With just a few simple steps, you can transform chickpeas into tofu, which has a delicate and smooth texture that can go well with both sweet and savory dishes.
By adding a flavorful broth, the natural bean taste of the chickpeas was masked, and Mr. Panda no longer considered it cat food. This chickpea tofu, once heated and then cooled, is not particularly suitable for frying or baking as direct heat will cause it to revert to a mushy state, making the texture resemble bean paste. In the summer, it can be made into a cold dish, with a savory flavor complemented by your favorite sauces. I tried making a Japanese-style cold tofu salad, using homemade shichimi spice, self-made Yoshinoya sauce, sprinkling some sakura shrimp, and adding bonito flakes and kombu, unexpectedly delicious, even attracting the cats. However, it’s important to note that cats cannot eat it.
Soup is also a light meal option; when placed in hot soup, the warm texture becomes incredibly tender, complementing the homemade chickpea miso perfectly. I believe this tofu is very similar to tofu pudding, and without the flavorful broth, it can also be enjoyed as a dessert with brown sugar syrup.
Chickpea Tofu
◤Ingredients
- Dried chickpeas: 300 g
- Boiling water: 1200 g (for soaking)
- Homemade umami powder/mushroom powder/kombu powder: 3 tablespoons (optional if vegan)
- Salt: 1/4 tsp
🟢 Omit salt and umami powder if making desserts
🟢 Square glass container with a capacity of 900 ml
◤Instructions
❶ First, rinse the chickpeas thoroughly, then add some of the homemade umami powder to the soaking water and stir well. Pour the mixture into a cotton cloth bag for straining, making sure to also submerge the bag in the soaking water. Place it in the refrigerator and let it chill overnight. After soaking for a night, the chickpeas will have absorbed enough water and doubled in weight.
❷ The next day, remove the cotton bag. This step helps retain the flavor of the liquid while not affecting the texture of the tofu. Put the liquid and chickpeas into a food processor and blend until coarsely mixed. Next, pour the chickpea mixture into a cheesecloth and use your hands to squeeze the chickpeas strongly, allowing the bean juice to seep out. This liquid is chickpea milk; the coarseness of the chickpea residue is ideal. If it’s blended too finely, the starch will release too much, leading to a poor texture in the tofu.
❸ Since the starch in the chickpeas will quickly settle, it’s important to stir again before cooking. Pour the extracted bean juice into a frying pan—preferably a wide one with a larger diameter for better evaporation of moisture.
❹ I use an induction cooker set at max power to 99 levels. Initially, I set the heat to medium at 60 levels to heat up while stirring continuously. Soon, the liquid will start to thicken and small granules will appear. At this point, reduce the heat and keep stirring. Don’t worry, immediately turn it to low heat, and continue stirring every corner. I set the power to 20 levels for faster stirring, preventing the bottom from burning.
❺ Use a flat spatula to stir widely; the chickpea milk will soon cook evenly. You’ll notice the small granules have disappeared. This tofu does not require any coagulant; it relies entirely on the starch and liquid from the chickpeas cooked until thick, and it will solidify upon cooling, similar to the principle of making jelly.
❻ As for when to turn off the heat, we can determine this by observing how the milk flows from a spoon. Gently scrape the bottom of the pan; when the milk moves slowly but can still quickly fill back in, and the dripping speed is faster, this indicates it will not solidify. We must keep stirring diligently. There are three indicators that the milk can successfully solidify: when it can be easily moved aside to reveal the bottom, when it sticks to the spatula and does not easily fall, and when there are long strands of droplets that do not disappear quickly. At this point, you can turn off the heat.
❼ Pour the chickpea milk into a heatproof container without oiling it. The less chickpea milk you have, the faster it will solidify; if only 100 g of chickpeas were used, it might set in just over ten minutes, while my 300 g batch took about 25 minutes. Smooth the surface and refrigerate in cold water for about an hour to allow it to set fully, and then place it in the refrigerator for the inside to cool completely. The cooled tofu will automatically release from the container, having a firm and slightly elastic texture. Gently pressing the edges will allow it to come apart, marking a successful outcome.
❽ If the umami powder was not filtered, it could cause the chickpea starch to appear coarse during solidification, resulting in an unusual texture. If the milk is not stirred evenly before cooking, the starch will not fully blend in, leading to insufficient starch, and thus, it cannot solidify successfully. If the chickpeas are blended too finely, the excessive starch released will cause the tofu to become hard, with high water output, poor elasticity, and prone to cracking. Successful chickpea tofu has the right balance of starch and water, remaining slightly elastic after cooling, not easily breaking, and not releasing excess moisture over a few days. You can observe this cross-section in the video.
❾ Unused tofu can be refrigerated for 3 to 4 days, as long as there is no sticky liquid on the surface and no sour smell; it is safe to eat. Of course, reheating it by steaming will make it more sanitary. It is normal for chickpea tofu to release water if stored for too long.
❿ The leftover chickpea residue can be steamed over high heat for 15 minutes to make chickpea miso, or it can be dried or ground into chickpea flour to be added to dough for making bread or buns.
⓫ The incredible chickpeas can also be used to make vegan cream and cakes. If you want to learn more chickpea recipes, please follow and subscribe to me, like, and bookmark. Thank you for watching, and see you next time!


