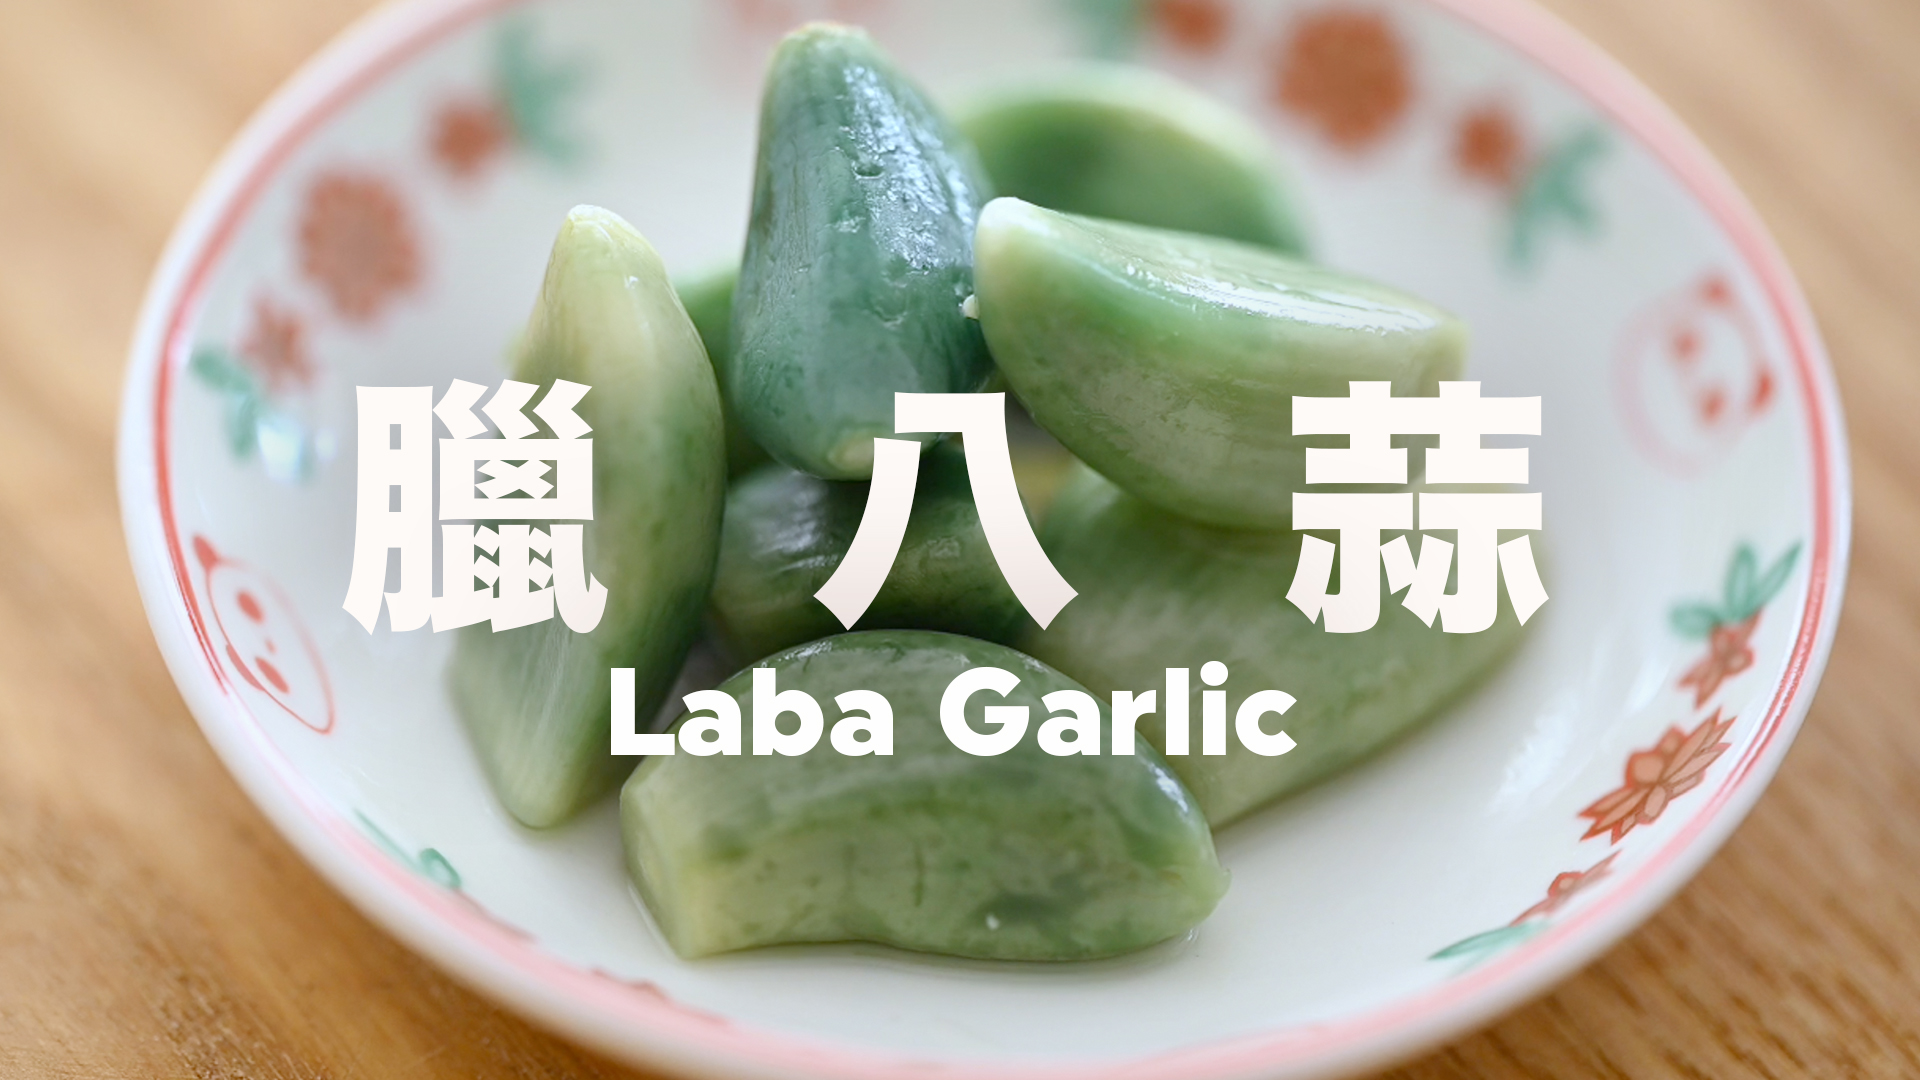
臘八蒜快速變綠⏐全年可醃⏐醃出高級訂製色Tiffany藍翡翠 ⏐語音旁白 Laba Garlic 🧄 Turn Garlic into Tiffany Blue
作為一個不愛吃米飯的南方人,我超愛餃子、饅頭、窩窩頭這些麵食。去北京旅行簡直太開心了,特別是在一家老店吃餃子,搭配烏醋醃的蒜頭。沒想到咬到蒜瓣時,味道居然這麼贊!我還愛上了那種蒂芙尼藍(Tiffany Blue)的浪漫顏色的蒜米。因此,每到年底,為了過年能吃餃子有伴,我都把蒜瓣放在醋里封起來。
蒜米為什麼會變綠呢?這是因為醋中的醋酸跟大蒜中的含硫物質相遇的時候,硫化物蒜酶在酸性環境下會發生結構變化,醋酸增加了大蒜細胞膜的通透性。在這個過程中,首先會產生藍色的蒜蘭素,但蒜藍素非常不穩定,它會逐漸轉化成蒜黃素。當兩種色素共存,藍色加黃色,就會形成充滿魅力的蒂芙尼藍色,碧綠翡翠像寶石一樣。
傳統的臘八蒜是在農曆12月初八那天醃上,北方氣候寒冷,經過半個月低溫醃漬,到了農曆年吃餃子的時候,剛好綠了也入味了。這個方法只是讓它綠得快一些,但是入味得是時間才做得到,沒有捷徑。一年將盡,新春即來,願蒜轉碧綠添財氣,醋解油膩納吉祥。祝大家新年快樂
◤材料
- 去衣蒜米 400g
- 鹽 20g (鹽漬用)
- 原漿冰糖 150g
- 9度白米醋400ml
- 1公升玻璃瓶
這是我從巿場買來的大蒜。獨子蒜氣味不及多瓣蒜濃烈,所以醋漬大多用多瓣蒜。購買的時候挑選顆粒飽滿沒有發芽的,表面乾燥按壓一下沒有凹陷,手感偏重表示新鮮水份足。剝皮後光滑飽滿,大蒜剝皮有難度,我會先掰開大蒜,然後用清水浸泡3~5分鐘軟化外衣。接下來將所有的外衣都剝去,再把蒜一瓣一瓣的掰開,浸泡在清水中。等全部的外衣剝完,蒜瓣皮也泡軟了,挑皮軟的開始剝皮,從根部掐一下就可以輕鬆去皮。
如果碰到一兩個不好剝的,先留著放在水裡繼續泡,很快就能把蒜皮全部剝完了。如果你有剝蒜器的攪拌機,也可以把泡軟外衣的蒜瓣丟進去,滾動十幾秒,皮軟的外衣輕輕一推就剝下了。不好剝的那些再倒回清水裡,外衣和蒜米就更容易分離了,但小心不要滾動太長時間,否則大蒜的表面會出現傷痕。均勻的鋪平在網篩上把蒜瓣晾乾,如果有條件日曬會更快一些。
把表面有傷口黑斑的蒜米挑出來,蒜瓣晾乾後到表面沒有濕氣之後,把根部和頭部切掉,形成一整齊的斷面,這樣米醋就更容易滲透進蒜米裡面,從而加快變綠的速度。這些切下來的小片也是可以用來做菜做醬料,一點都不浪費哦。量度蒜米的重量,好計算用鹽的比例,加入餐桌鹽,用刮刀輕輕翻拌,讓每一顆蒜米都均勻沾到鹽。翻拌的時候要溫柔一些,不然蒜米碰撞出傷痕很容易壞掉。然後醃製蒜米12小時,鹽漬有兩個作用:第一是讓蒜米出水口感更爽脆,第二加入鹹味可以提引糖的甜味,讓味道更豐富。蓋好放進冰箱一夜,如果你不喜歡冰箱裡充滿蒜的味道,用密封的容器可以防止蒜味溢出。
第二天我把蒜米從冰箱取出,你看蒜米出了很多水了,苦味和澀味都被迫出來了。用飲用水沖洗蒜米,用刮刀輕輕翻一翻,然後就可以撈起放在網架上晾乾。出水之後的蒜米有點QQ的彈性,口感特別好。醋主要分成兩大類:釀造醋和調配醋,釀造醋是用天然食材慢慢釀出來的,過程有點複雜,花的時間也不短,但味道真的香濃。大多數是用穀物來釀造,烏醋白米醋都可以醃製蒜米。
我想更好觀察顏色的變化,所以用白米醋。白米醋有一個缺點,是味道比較刺激太嗆喉。做醃漬食物,我會先把米醋微微加熱到45℃,把手指放進去不燙手,洗澡水的溫度,既不損醋酸的香氣,又可以讓醋變得更綿柔一些。如果用我自己發酵的果醋,就不需要進行加熱這一步了。用來醃製的玻璃罐使用前要經過消毒,消毒的方法可以看我另外一個視頻。
將切好的蒜米放入瓶裡,米醋的量剛好沒過蒜米就可以了,上面預留一點空間,因為蒜米遇到醋,高滲透壓還會再排出一些水份,避免溢出不需要倒得太滿。蒜米很快便會浮起來,在蒜米上面放下不打碎的原漿冰糖,冰糖的重量壓著蒜米不讓它們浮起來。蓋好,貼上製作日期的標籤,剩下的事情就是等待了。
接下來我用了兩個溫度來醃漬。剛開始,我用了一個比較小的恆溫加熱杯墊,放在水溫40℃,加熱12小時之後仍沒有太大的變化,綠色只出現在創口的一邊,綠化的過程也很慢。接著我換了一個火力更大的電陶爐,把水溫提升到55℃,5小時之後,蒜瓣基本上都變綠了。如果用暖氣和烤箱恆溫,都可以達到差不多的效果。
臘八蒜的綠色並不穩定,變綠之後繼續高溫會變成黃色,所以一旦蒜米綠了就需要放入冰箱保存,冷藏的溫度大概4度就好了,這樣顏色可以保存很長的時間。我用的這種瓶子,也可以保證糖醋蒜的味道不會跑出來。
一週之後蒜米總算醃透了,辛辣盡除,醋汁鮮辣也不嗆鼻,跟剛出鍋,還冒著白煙的白胖的餃子一起上桌,使人忍不住要多吃幾個餃子。不過我要溫馨提示一下,雖然大蒜可以去腥解膩,增強食慾,但同時也含多種刺激性物質,食用過量會對腸胃不好。
As a Southerner who doesn’t enjoy rice, I absolutely love dumplings, buns, and steamed cornbread. Traveling to Beijing was incredibly exciting, especially eating dumplings in an old restaurant, paired with garlic pickled in black vinegar. I didn’t expect the flavor to be so great when I bit into a clove of garlic! I also fell in love with the romantic Tiffany Blue color of the minced garlic. So, every year end, to ensure I have garlic for dumplings during the New Year, I store the cloves in vinegar.
Why does garlic turn green? This is because the acetic acid in vinegar reacts with the sulfur-containing compounds in garlic, causing alliinase to undergo structural changes in an acidic environment. The acetic acid increases the permeability of the garlic cell membranes. In this process, blue alliin is first produced, but it is very unstable and gradually transforms into yellow alliin. When both pigments coexist, the blue and yellow combine to form a captivating Tiffany blue, resembling a green jade gemstone.
Traditional garlic pickled in Laba is prepared on the eighth day of the twelfth lunar month. The northern climate is cold, and after half a month of low-temperature pickling, it turns green and becomes flavorful right in time for eating dumplings during the Lunar New Year. This method simply speeds up the greening process, but achieving the right flavor takes time—there are no shortcuts. As the year comes to an end and the new spring arrives, may the garlic turn green, bringing wealth, and may the vinegar relieve greasiness and attract good fortune. Wishing everyone a Happy New Year!
◤Ingredients
- Peeled Garlic 400g
- Salt 20g (鹽漬用)
- Raw Rock Sugar 150g
- White Rice Vinegar 400ml
- Fido Jar 1L
This is the garlic I bought from the market. Single-clove garlic is less pungent than multi-clove garlic, so most pickled garlic recipes use multi-clove garlic. When buying, choose bulbs that are plump and not sprouted, with a dry surface that doesn’t dent when pressed; a heavier feel indicates freshness and sufficient moisture. After peeling, the garlic should be smooth and plump. Peeling garlic can be challenging, so I break the bulb apart and soak it in clean water for 3 to 5 minutes to soften the skin. Next, I remove all the skins and separate the cloves, soaking them in clean water. Once all the skins are removed and the cloves are soft, I start peeling the softer skins; pinching from the root makes it easy to remove the peel.
If you encounter one or two cloves that are difficult to peel, set them aside in water to soak; they’ll be easy to peel in no time. If you have a garlic peeler mixer, you can toss the soaked cloves in and spin them for about ten seconds; the softened skins will slide right off with a gentle push. Return any stubborn cloves to the clean water, and the skins will separate more easily from the garlic, but be careful not to spin them for too long, or the surface of the garlic may get bruised. Spread the cloves evenly on a mesh strainer to dry, and if conditions allow, sun drying will work even faster.
Pick out the garlic cloves with black spots on the surface, and after drying them until there is no moisture left on the surface, cut off the root and the tip to create a neat flat edge, which allows the rice vinegar to penetrate the garlic cloves more easily, hastening the greening process. The small pieces that are cut off can also be used in cooking or making sauces, ensuring that nothing goes to waste. Measure the weight of the garlic cloves to calculate the salt ratio, then add table salt and gently mix with a spatula, ensuring that each garlic clove is evenly coated in salt. Be gentle while mixing to avoid bruising the garlic, which can lead to spoilage. Next, marinate the garlic cloves for 12 hours; the salting has two effects: first, it draws out moisture, making the garlic crispier, and second,
The next day, I took the garlic cloves out of the refrigerator, and you could see that a lot of water had been released from them, along with the bitterness and astringency. I rinsed the garlic cloves with drinking water and gently flipped them with a scraper, then I could scoop them up and place them on a drying rack. After releasing the water, the garlic cloves had a bit of a QQ texture, making them particularly delicious. Vinegar primarily falls into two main categories: brewed vinegar and compound vinegar. Brewed vinegar is made slowly from natural ingredients; the process is somewhat complex and takes a considerable amount of time, but the flavor is truly rich. Most brewed vinegar is made from grains, and both black vinegar and white rice vinegar can be used to pickle garlic cloves.
I want to better observe the changes in color, so I use white rice vinegar. One downside of white rice vinegar is that its taste is quite strong and can irritate the throat. When pickling food, I first heat the rice vinegar slightly to 45℃, so that it doesn’t burn my fingers, which is like the temperature of bathwater. This way, it preserves the aroma of the acetic acid while making the vinegar a bit smoother. If I use my homemade fruit vinegar, there’s no need to heat it. The glass jars used for pickling should be sterilized beforehand; you can check out my other video for the sterilization method.
Put the chopped garlic into a jar, ensuring that the amount of rice vinegar just covers the garlic, leaving a little space at the top because the garlic will release some moisture due to the high osmotic pressure when it comes into contact with the vinegar, so avoid filling it too full. The garlic will quickly float to the surface; place some uncrushed rock candy on top to weigh it down and prevent it from floating. Seal the jar and attach a label with the production date, then all that’s left to do is wait.
Next, I used two different temperatures for marinating. At first, I used a smaller constant temperature heating pad, set at a water temperature of 40℃. After heating for 12 hours, there was still not much change; green appeared only on one side of the wound, and the greening process was very slow. Then, I switched to a more powerful electric ceramic stove, raising the water temperature to 55℃. After 5 hours, the garlic cloves had basically turned green. Using a heater or an oven at a constant temperature can achieve a similar effect.
The green color of Laba garlic is not stable; if it continues to be exposed to high temperatures after turning green, it will turn yellow. Therefore, once the garlic cloves have turned green, they need to be stored in the refrigerator at about 4 degrees Celsius, which helps to maintain the color for a long time. The type of jar I use can also ensure that the flavor of the pickled garlic does not escape.
A week later, the garlic finally marinated well; the spiciness has dissipated, and the vinegar is fresh and not pungent, served alongside plump dumplings fresh from the pot, still steaming. It’s hard to resist eating a few more dumplings. However, I want to gently remind you that while garlic can remove fishy odors and alleviate greasiness, enhancing appetite, it also contains various irritating substances, and excessive consumption may be harmful to the digestive system.


